Creating an eGrantsPlus Account
Registering as a Member of an Organization
Retrieving User Name and/or Password
Information
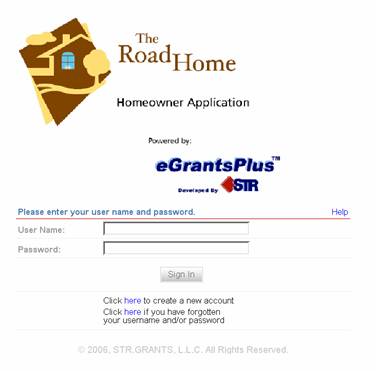
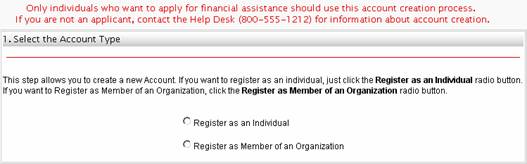
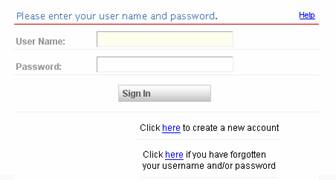
For a prospective
user to access eGrantsPlus, the person must create an account. When the user
arrives at the eGrantsPlus login screen as shown below, the user must click
the link below the login to create an account as indicated by the arrow below.
![]()
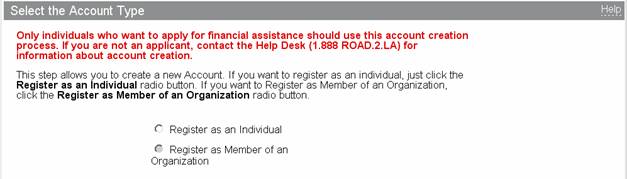
When the
link is clicked, the screen below will be displayed. The user will be asked
whether they are creating an account as an individual or as a member of an
applicant organization. The user should click the appropriate radio button.
- For assistance programs where
only individuals should apply, the user should register as an individual.
- For assistance programs
available to organizations, the user may register as a member of a new or
existing organization.
Registering as an Individual Top
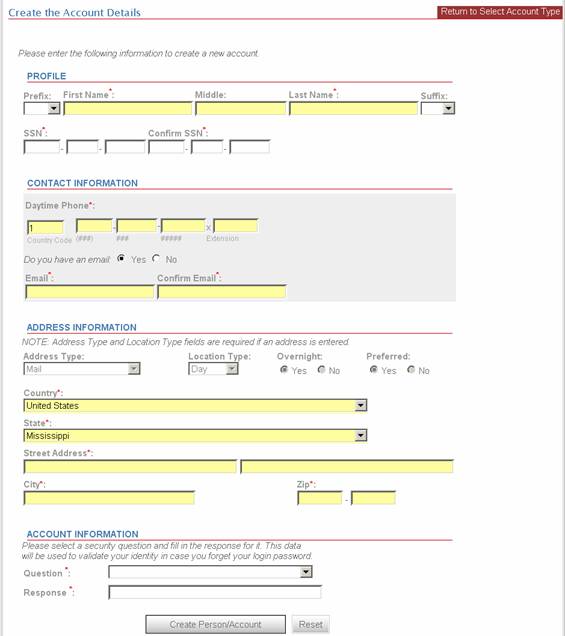
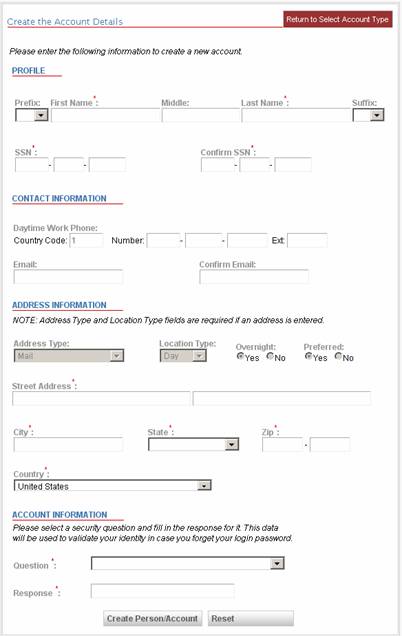
Once the
radio button for Register as an
Individual is clicked, the screen below will appear. Required fields are
displayed with asterisks (*). If any of the fields display in a color (e.g.,
light yellow), the color has no meaning. It is a property of the browser that
is being used.
Shown here
is a completed login screen. To proceed, the two entries for SSN and email
address must match. If they do not, the user will be prompted to correct them.
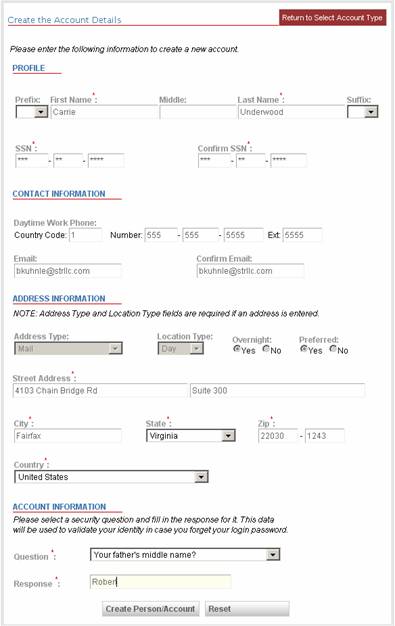
When the required
data has been provided, the user should click Create Person/Account. To clear all data on the screen and start
over, click Reset.
If all of
the required data is not provided or if fields that should match do not, the
user will be provided with messages like those shown here. This is not a
complete list of messages.
If the two
SSN values are not identical, the message below will be displayed
![]()
If the SSN
entries are not complete, the message will be
![]()
When the
email address is not valid or if the email address entries do not match
![]()
If the
state is not entered
![]()
If the zipcode is not five digits
![]()
If city is
not entered
![]()
If a
![]()
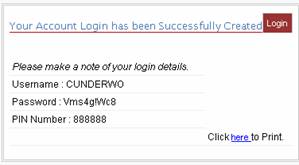
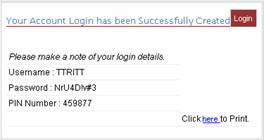
Once all of
the entries have been validated, an account will be created. The user will see
a screen with a pin number, User Name, and Password as shown below. The user
may click the link to print the page or the Login button to be taken to the
login screen. The user will not be able to return to this screen once they
navigate from it.
YYYYYYY XXXXXXX
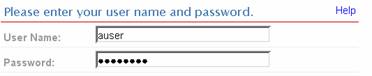
At the
login screen, the user should enter the assigned User Name and Password to gain
access to eGrantsPlus.
Registering as a Member of an
Organization Top
If a user
will be applying for financial assistance available to organizations, then the
user must create an account as a member or an existing organization or the user
must create a new organization record in eGrantsPlus. At the first screen,
click the button to “Register as Member of an Organization”
![]()
The user
will be taken to the screen below. At this screen, the user may press “Search”
to see a list of all organizations
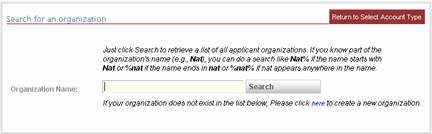
The user can enter an Organization name and click “Search.”
The user
can enter part of the name of the organization, using the percent (%) sign
before or after or both before and after depending on where the typed
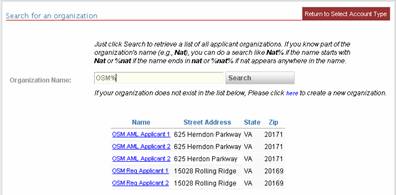
characters are in the organization name. If the user knows the organization
name begins with “OSM”, then the search criteria might be “OSM%”.
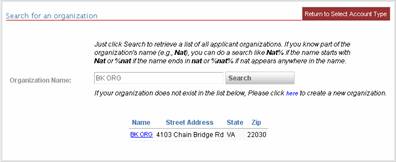
If the user
knows that the name ends with “Org”, then an appropriate search would be %Org.

If the user
knows that the organization name contains the characters “elep”,
an appropriate search might be %elep%
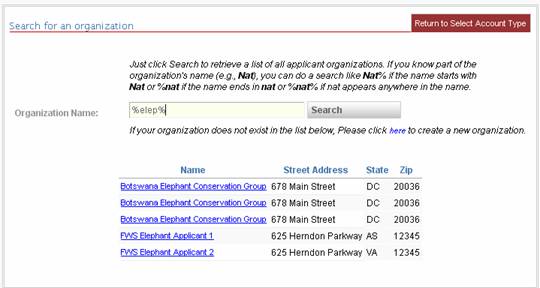
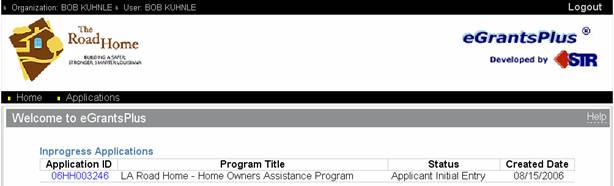
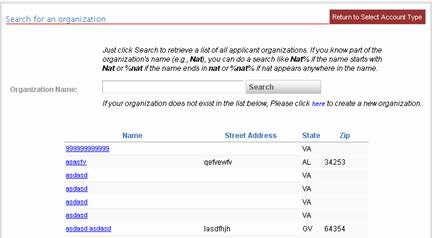
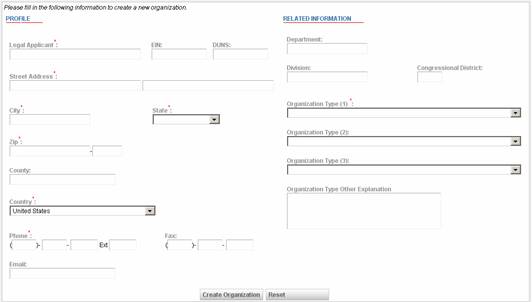
By clicking
on any of the organization links, the user will be taken to the screen to enter
the information needed to create an account within that organization. Once the
information is entered, the account details will be displayed. The user can
print the data and proceed to the login page from this screen.
XXXXXXX YYYYYYY
Retrieving User Name and/or Password
Information Top
Users who
are unable to login may retrieve their user name or password (or both) at the
login screen by clicking the link in red below.
![]()
The screen
below will be displayed.
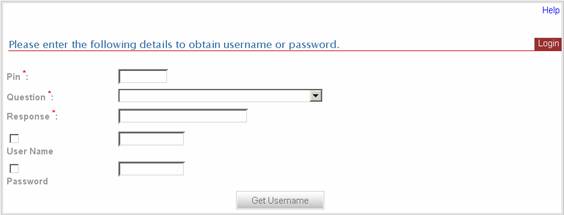
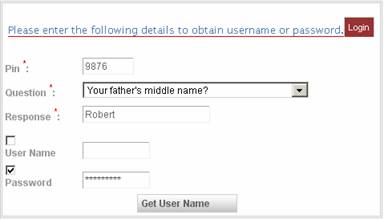
At this
screen, the user should enter their assigned PIN number, select the question
that they selected at account creation, and enter the response to the question
that was provided at account creation. If the required entries are not
provided, a message will be displayed to identify the required information.
![]()
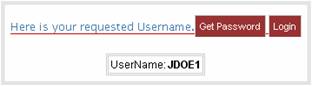
Once the
required fields have been provided
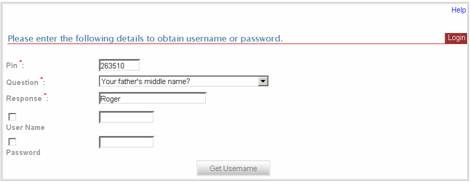
and Get User Name clicked, the user will be
shown their User Name.

At this
point, the user can click Login to go the login screen and complete the login
or the user can click Get Password to return to the previous screen and enter
all the required information to retrieve the Password.
By entering
the Pin, Question, Response AND the User Name, the button changes to Get Password.
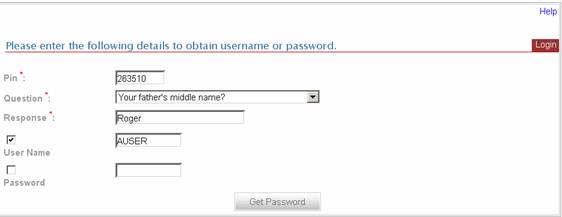
Click Get
Password to see your password.
YYYYYYY

If the
Password is known and the User Name is not, the screen can be used to retrieve
the user name.
Armed with
both User Name and Password, the user can complete the login.